WS2812B Neopixel RGB LED Control Via ESP8266 And WLED

Nowadays RGB LED strips are great for lighting projects. You can make custom projects using a microcontroller and without a microcontroller. In this article, we are going to discuss how to make a WS2812B Neopixel RGB LED strip by using ESP8266 and WLED software. The code is a simple working process using WLED software. You just need to install the bin file into the ESP8266 NodeMCU board. We already make a Music Reactive LED strip in the previous.

Light up your celebration parties and impress all your invites with this multicolour WS2812B Neopixel RGB LED lights that respond and change their colour modes on every single command. This light is nothing but a simple 5050 RGB LED which has an inbuilt addressable data controller i.e., WS2812B chip. You can mount LED strips anywhere in your room and even outdoors. The main purpose of this project is to use it at parties but only not for that. You can also use it to make your room fantastic looks. The practical application is endless.

Must Read WS2812B Music Reactive RGB LED Strip Using WLED

Project

WS2812B Neopixel RGB LED

Circuit Diagram

WS2812B Neopixel RGB LED Circuit Diagram

Components Required

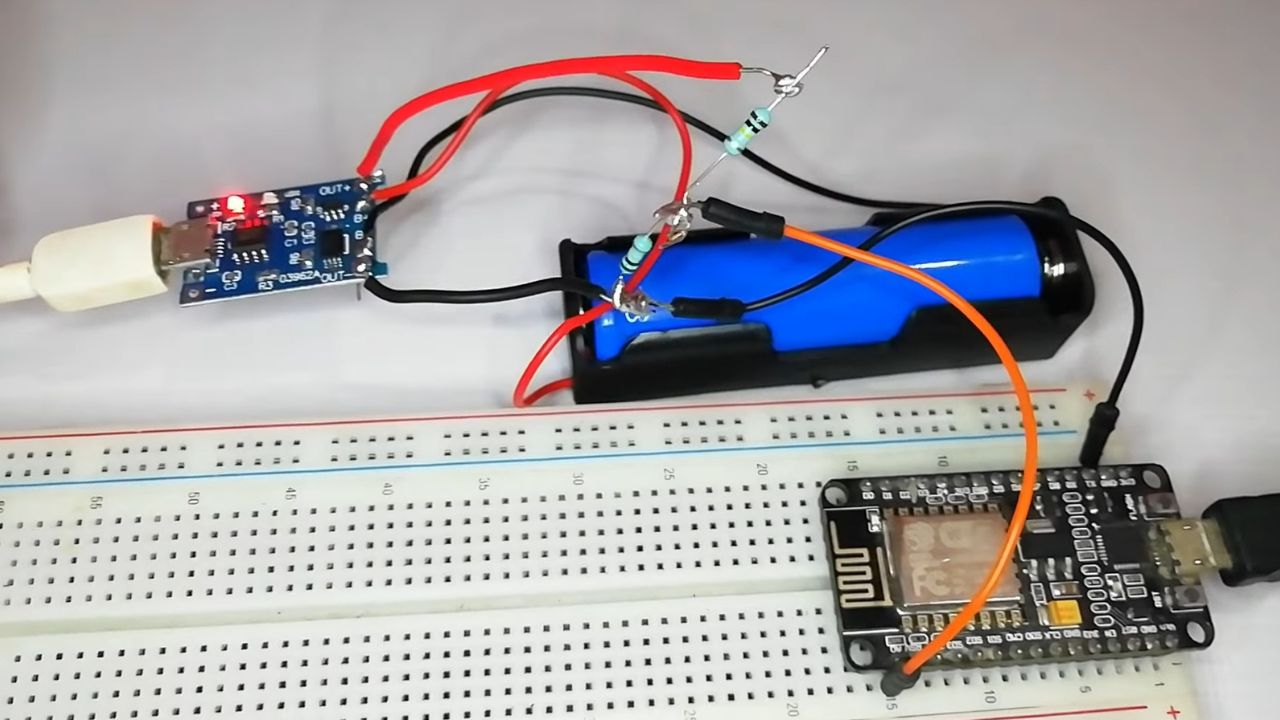
  • ESP8266 NodeMcu Board
  • 5 Volt WS2812B Neopixel LED Strip
  • 5 Volt 5 Amp Decent Power Supply
  • Connecting Wires

PCB Design

For removing messy wiring and giving a clean look, I designed a PCB prototype for this project. It is also helpful for troubleshooting that runs great without any errors. To design this PCB board, I used EasyEDA as it is too easy to use. For ordering PCB for this, I prefer PCBWay.

Gerber file for WS2812B Neopixel RGB LED Gerber.

PCB View

WS2812B Neopixel RGB LED 2D View
2D View
WS2812B Neopixel RGB LED 3D View
3D View

There are so many forums or communities for electronics online in today’s technical world, and one of the famous ones for PCB manufacturing is the PCBWay. PCBWay is a place that brings manufacturers and customers together. They have more than a decade of experience in this field of fabrication, prototyping and assembling PCBs. PCBWay has proved its focus on its customers’ needs in terms of cost-effectiveness, delivery, and quality.

How PCB Manufacturing Process Done in PCBWay

Standard quality for any product needs to be maintained using some parameters. PCBWay gives that opportunity through quality control in designing and manufacturing. At first, they ensure the accuracy, clarity, and validity of the PCB files that we sent to them.

Then all the boards will go through the most stringent tests other than the basic visual check. They adopt most of the testing and inspecting equipment used in the industry, such as Flying Probe Tester, X-Ray Inspection Machine, and Automated Optical Inspection (AOI) Machine. PCBWay are having 50+ new engineers on the daily basis around the world using PCBs for their work, who trust for their reliable quality. They produce high-quality pink, orange, grey, and even transparent solder mask. Moreover, according to people’s needs, they can also provide Black core PCB. Check it out for a High-Quality PCB solder mask. There are some pictures below of the new colours of solder musks.

Features of PCBWay

PCB Prototyping & Manufacturing: PCBWay produces FR-4 and Aluminum boards and advanced PCBs like Rogers, HDI, Flexible and Rigid-Flex boards, at a very reasonable price. Just check this Instant Quote to order premium PCBs for your hobby projects.

PCB Assembly: It not only offers PCB Prototyping but also offers PCB Assembly service. You can order a full PCB board with attached components by uploading your file. SMT & THT assembly starts from only 30$ including free stencil and worldwide shipping. The components can be sourced and provided by PCBWay, or by clients themselves.

Open Source Community: It not only offers PCB Prototype & Assembly service but also gives opportunities to students for sponsorships. I think this is so great. They feature their projects on the website also.

3D Printing & CNC: It also produces Rapid Prototyping like 3D printing, CNC Machining, Sheet Metal Fabrication, and Injection Molding. The quality of the product is too premium and reliable. And also the best part is that you will receive your order within a minimum of 3 days.

PCBWay Store: More boutique gift modules are waiting for you to discover, giving your creativity wings. You can order all types of electronic equipment, components and many more with exciting offers. Go with the link and buy your needs, PCBWay Store.

Services: PCBWay offers great servicing of their products. It takes only 3 to 15 days according to courier service to deliver your products. Also, it has a live support facility. Whenever you have any problems, you can always reach a live customer service person to respond to your emails or messages. They have the “Return and Refund” principle, for every unusable board caused by PCBWay, they will rebuild and refund the order soon.

Process To Install WLED On ESP8266 Board

The first thing we going to do is to download these two files, first is the “WLED_0.13.3_ESP8266.bin“. Another file is “ESPHome Flasher” tool. After that, you can plug your ESP8266 board into your PC. But make sure the micro USB cord you use does support data transfer.

Next open the ESPHome Flasher tool and first select the right “COM” port from drop-down menu. Then browse the “WLED_0.13.3_ESP8266.bin” file and click flash esp. After few seconds, the process will be stop, then close the software.

After that go to the Wi-Fi connection from your PC and select “WLED-AP” (Default Password=wled123) Wi-Fi network. Once it connects with this network, the homescreen will automatically open in the web browser ( If it doesn’t then type “4.3.2.1”). There you need to click “WIFI SETTINGS” type your Wi-Fi name and password into the blank tab and press “Save & Connect”. After that close the window.

Mobile App for Connecting Music Reactive LED

Go to Playstore or Appstore and search “WLED” or click this link to download and install WLED mobile version app (for iPhone WLED). After opening the app, click the “+” icon from the right top corner and press “Discover Lights…” (Make sure your mobile is connected to the same Wi-Fi network as you set your WLED Wi-Fi settings). When the app found any light, just simply press the back icon from the top left corner.

music reactive led wled adding page

Then click on the light and you will go to the homescreen of the control panel. Now go to the “Config” tab from the top right corner and click “LED Preference” and, define 2000mA as the maximum current and set the number of LEDs you need to show and press save. Also define the LED output as GPIO4 (D2) and press save. That’s it.

music reactive led homescreen
music reactive led settings page

How To Control Neopixel RGB LED Strip

Go to the homescreen and press the “Effects” tab. From there you can choose any lighting effect. There is a total of 150+ different types of effects available. As well as you can change the effect speed from the adjustment bar above.

Applications of WS2812B Neopixel RGB LED

  • This project is basically for party purposes but also can be useful for home decoration.
  • We can use it as a spectrum bar for cars, restaurants, homes, etc.

Leave a Comment