
In today’s project, we will learn to build an IoT Plant Watering System using an ESP8266 NodeMCU board and which comes with the latest Blynk 2.0 version. In this project, we used a soil sensor and a relay module to get the input and output as well.
Using those, we can get the moisture value and control the water pump with the help of the relay. In today’s tutorial, a mini water pump is used as an example. But, you can connect any other water pump like AC or DC as required (Please use a relay with more amperage than the water pump).
Also, this system has a feature to monitor or control our smartphone or computer using the Blynk 2.0 platform from anywhere in the world. This is a very cost-efficient project and very helpful for our home garden, small greenhouses and etc where labour is way costly. Now let’s begin to make the project step by step.
Previously we have already discussed two automatic plant watering systems. You can check it out.
Project

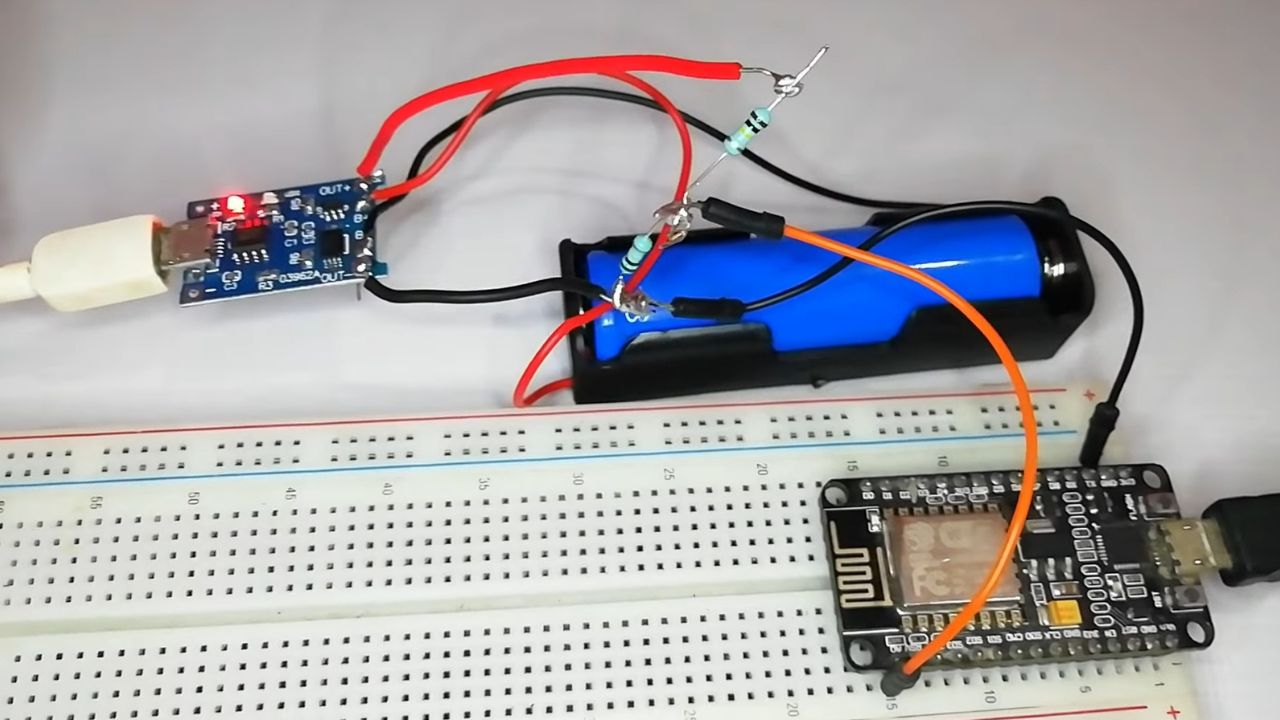
Circuit Diagram

Components Required
- ESP8266 NodeMCU
- Soil Moisture Sensor
- 5 Volt Relay Module
- 16×2 LCD Display
- I2C Display Module
- DC Water Pump
- 7mm Silicon Pipe
- Connecting Wires
- Breadboard
- 9 Volt Battery
- 9 Volt Battery Clip
Identification of IoT Plant Watering System Project Parts
First, we have to identify these components.


Circuit Connection for IoT Plant Watering System
First, we have to put the NodeMCU board on the breadboard and connect the VIN and GND pins to the breadboard respectively.
Now we have to put the soil moisture sensor on the breadboard and connect it to the NodeMCU board. For that, use the reference circuit diagram below Then connect the 16×2 LCD display and relay module to the NodeMCU board.
Setup Blynk Web Dashboard for IoT Plant Watering System
First, enter the Blynk website and create a new account using your Gmail id. Then sign in to your account and tap on the new Template button. Then enter your project name and click on the done button.

Now click the “Datastreams” tab and have to create two data streams, you can take reference from the information below.
| Virtual Pin | Name | Value |
|---|---|---|
| V0 | Moisture Level | Min-0, Max-100 |
| V1 | Water Pump | Min-0, Max-1 |

Next, click on the “Web dashboard” tab and then we have to include the one button and one Gauge widget in the dashboard.
Now, arrange these widgets as you like and select the data streams that we created earlier. Then save it.
Now, click the search icon button and create a “New device”. For that, select the template you created earlier. Finally, the Blynk Web Dashboard has been created successfully.
NodeMCU Code
Next, we have to connect ESP8266 to the computer and upload the program to it. To compile the code, we have to install the below libraries.
#include <LiquidCrystal_I2C.h>
#define BLYNK_PRINT Serial
#include <ESP8266WiFi.h>
#include <BlynkSimpleEsp8266.h>
//Initialize the LCD display
LiquidCrystal_I2C lcd(0x27, 16, 2);
//LiquidCrystal_I2C lcd(0x3F, 16, 2);
char auth[] = "*********"; //Enter your Blynk Auth Token
char ssid[] = "*********"; //Enter WiFi Name
char pass[] = "*********"; //Enter WiFi Password
BlynkTimer timer;
bool Relay = 0;
#define sensor A0
#define Pump D3
void setup()
{
  Serial.begin(9600);
  pinMode(Pump, OUTPUT);
  digitalWrite(Pump, HIGH);
  lcd.init();
  lcd.backlight();
  Blynk.begin(auth, ssid, pass, "blynk.cloud", 80);
  lcd.setCursor(1, 0);
  lcd.print("Please Wait");
  for (int a = 0; a <= 15; a++)
  {
    lcd.setCursor(a, 1);
    lcd.print(".");
    delay(2000);
  }
  lcd.clear();
  //Call the function
  timer.setInterval(100L, soilMoistureSensor);
}
//Get the button value
BLYNK_WRITE(V1)
{
  Relay = param.asInt();
  if (Relay == 1)
  {
    digitalWrite(Pump, LOW);
    lcd.setCursor(0, 1);
    lcd.print("Pump Activated");
  } else
  {
    digitalWrite(Pump, HIGH);
    lcd.setCursor(0, 1);
    lcd.print("Pump Deactivated");
  }
}
//Get the soil moisture sensor values
void soilMoistureSensor()
{
  int value = analogRead(sensor);
  value = map(value, 0, 1024, 0, 100);
  value = (value - 100) * -1;
  Blynk.virtualWrite(V0, value);
  lcd.setCursor(0, 0);
  lcd.print("Moist: ");
  lcd.print(value);
  lcd.print(" ");
}
void loop()
{
  Blynk.run();//Run the Blynk library
  timer.run();//Run the Blynk timer
}Copy the Blynk “auth token” from the Blynk website and paste it into the code section. Also, you have to enter your WiFi SSID and password. Finally, we have to select correct the board and port and hit the upload button to upload this code into the NodeMCU board.
Setup Blynk Mobile Dashboard for IoT Plant Watering System
First, we have to install the Blynk application from Google Play Store. Then, sign in to the account which you already login into your web dashboard and click on the template we created earlier.
Now, add the widget to the dashboard. For that click the “+” icon at the top right corner. And then, add one button and one Gauge widget to the dashboard. After that, arrange these widgets as you like.
Now, click the one-by-one widgets and select the data streams you created in the Blynk web dashboard. Blynk mobile dashboard is now ready for use.

As the last step, we have to connect the water pump to the relay module and place the soil moisture sensor into the soil.


from Google Playstore
Hello where to find the blynk app