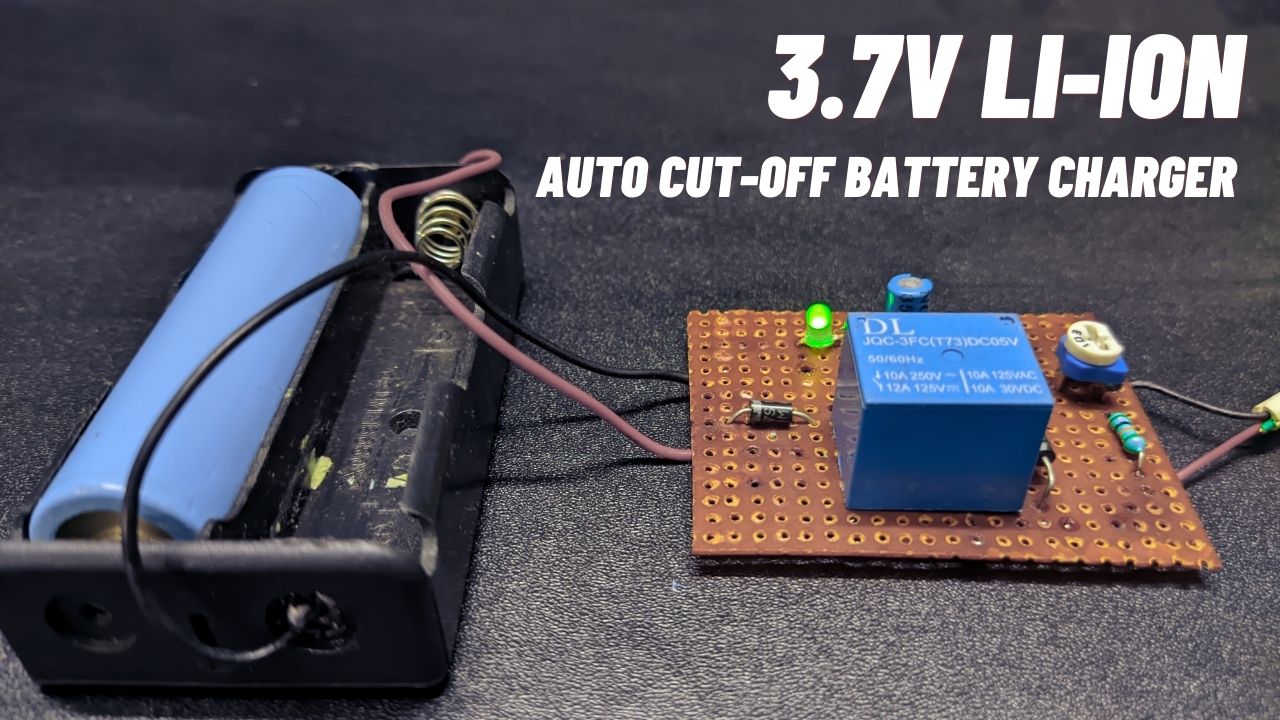
In today’s project, we will build an Auto Cut-Off Lithium-Ion Battery Charger circuit. As you guys know in one of my previous projects, I made a circuit that can charge a lead acid battery, when the indicator LED turns green it indicates the battery is fully charged and the red LED indicates the battery is in charging condition.
Now if you are charging a lithium-ion battery and the circuit has no auto-cut option then it can become very dangerous. Because the circuit only indicates that your battery is fully charged. Now, we have to remove the battery ourselves after full charge because that circuit doesn’t have an auto-cut option. And It will continue to charge the battery even after the green LED is lit up, this can become dangerous.
Also If you forget to turn that off after some time the battery can explode. So that’s why I am building an upgraded version of the previous circuit and it comes with an auto-cut option. In today’s project, the battery charger circuit provides the automatic cut-off system when the battery is fully charged.
Project

Circuit Diagram

Components Required
- BC547 NPN Transistor
- 10KΩ Resistor
- 1KΩ Resistor (x2)
- 10KΩ Preset
- 10uF/16V Capacitor
- Red & Green LED
- 5V Relay
- Connection Wire
- Veroboard
- +5V Power Supply
How to Adjust the Cut-Off Point by Varying the Preset?
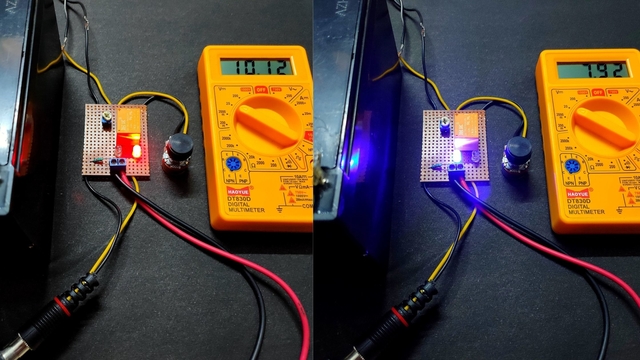
First, we disconnect any battery supply or any type of input supply and then rotate the preset knob to the ground level. Then we take a variable DC power supply which has its output precisely adjusted to 4.2V which is the optimum full charging level of the standard 3.7V Lithium-Ion battery.
Connect this power supply to the output side of the circuit, across the points where the battery is supposed to be connected.
You will see the green LED illuminating. At this stage, the relay must switch ON, however, it won’t since there’s no 5V supply from the input side of the circuit. No worries, we can still set up the circuit by looking at the LEDs.
After this, slowly adjust the preset until the green LED just switches off and the red LED just switches ON.
That’s all, the auto cut-off set-up is complete for the circuit.
Working Principle of Auto Cut-Off 3.7 Volt Lithium-Ion Battery Charger
In the above-mentioned circuit, the charging process is driven by a BC547 NPN transistor and a relay. While charging the circuit, it takes input from a 5-volt adopter as shown above. After the battery charge reaches a certain point the transistor BC547 activates and it’s driving a relay that turns on and changes the COM pin’s attachment from NC to NO, which is connected to the green LED as it lits up after the relay change over indicates that the battery is fully charged.
That’s how the automatic cut-off lithium-ion battery charger circuit works depending on the NPN transistor and 5-volt relay.


Then you need to change the relay state from LOW to HIGH in the coding section and vice versa.
Not working
The relay not turn on the red led at all I tried two many times