In this tutorial, I will show you a simple Ultrasonic Sound Generator that can be used for various purposes such as a sound generator, mosquito repeller, and like this. This project uses an astable mode multivibrator with IC 555 which produces the desired frequency by altering the variable resistance. Here I will show you how to make an ultrasonic sound generator using this simple mechanism.
Human beings can hear this ultrasonic sound in the range of 1 Hz to 20 kHz. We are determined frequency above 20 kHz is termed ultrasonic sound. Animals like cats, dogs, insects, mosquitoes, and bats have the ability to hear this ultrasonic sound.
A step-by-step process of making an ultrasonic sound generator using an IC 555 timer is given below.
Must Read Ultrasonic Distance Meter Using Arduino
Project

Circuit Diagram

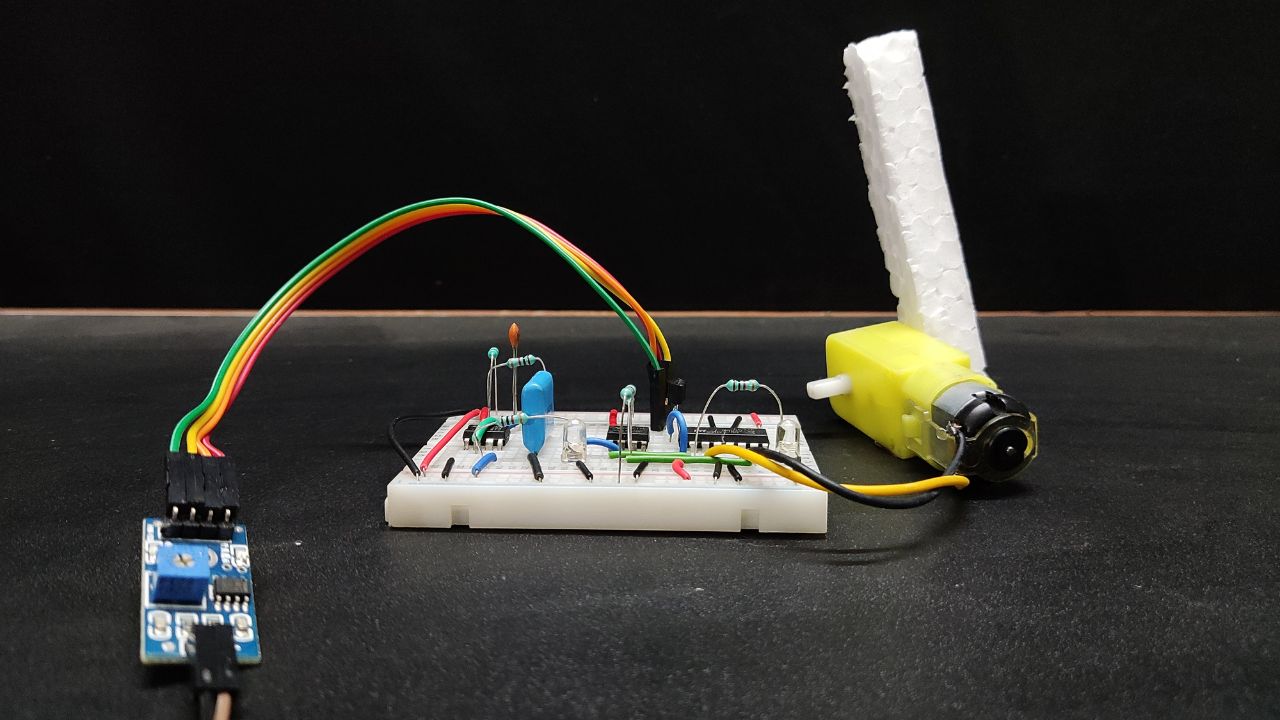
Components Required
- IC 555 timer
- A ceramic capacitor of 0.1 uF
- A resistor of 220 Ω
- Piezo buzzer
- Switch
- 5V Power Supply
- Breadboard
Circuit Connection
At first, we will put a 555 timer IC on the breadboard. As per the circuit diagram, we will then connect pin 4 and pin 8 together and connect directly to the Vcc terminal. Also, connect pin 1 directly to the ground terminal of the power supply.
A 10 KΩ potentiometer will be placed right on the breadboard. Then its right terminal will be connected with IC pin 2 and its left terminal will be connected with IC pin 7 and also connected with Vcc with a resister value of 1 KΩ.
After that, a small value of capacitor 0.01 uF (code 104) will be placed with IC pin 2 and connected with the ground terminal.
Finally, a piezo buzzer will be connected through IC output pin 3 and another terminal will be connected directly to the ground.
Working Principle of Ultrasonic Sound Generator
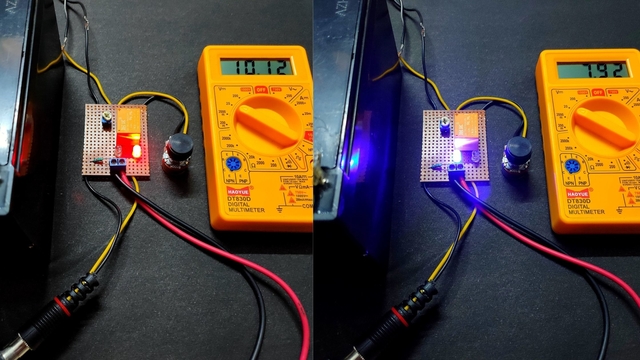
In this project’s ultrasonic sound generator, when the switch is closed, the IC 555 timer gets the power. As per the circuit diagram, initially, the capacitor voltage will be zero and hence the voltage at the threshold and trigger pin will be zero.
As the capacitor charges through potentiometer R1 and resistor R2, at a certain point voltage at the threshold pin, it is less than the capacitor voltage. This causes a change in timer output.
The capacitor now starts discharging through resistor R1. Thus the output signal is an oscillating signal with a frequency of 22 kHz.
The output from this ultrasonic sound generator circuit drives a frequency of 22 kHz. For getting output we will use a small piezo buzzer as a transducer to get output.


Yes, you can increase the frequency to around 23,000–25,000 Hz by adjusting the resistor values in your 555 timer circuit. Try setting R1 = 330Ω and R2 = 1.2kΩ (or use a variable resistor), keeping C1 = 0.01µF. This will give you an output frequency close to 24 kHz, ideal for ultrasonic dog deterrent applications.
Can the frequency be increased to between 23,000 and 25,000 Hz? I plan to use it with an amplifier and motion sensor to drive dogs away.
You’ve managed to take a topic that’s often overwhelming and make it feel manageable and even inspiring.
You’ve managed to find a way to present ideas that are both insightful and easy to grasp. That’s no small feat.