
In the previous article, we built an Obstacle Avoidance Robot using Arduino. We have planned to make the same Obstacle Avoidance Robot using a Raspberry Pi Pico microcontroller. In this project, I mainly used an HC-05 ultrasonic distance sensor to get the distance sensed immediately and drive the motors separately by the L298N motor driver module. Also, I used a robot car chassis for this project. But you can use a DIY chassis according to your budget.
You can learn how to Interface the ultrasonic sensor with the Raspberry Pi Pico board, please visit this link below.
Project

Circuit Diagram

Components Required
- Raspberry Pi Pico
- L298N Motor Driver
- HC-SR04 Ultrasonic Sensor
- Servo Motor
- DC Gear Motor (x4)
- Wheels (x4)
- Robot Car Chassis
- Connection Wires
- Lithium-Ion Battery (x4)
- 4-Channel Lithium-Ion Battery Holder
- Breadboard
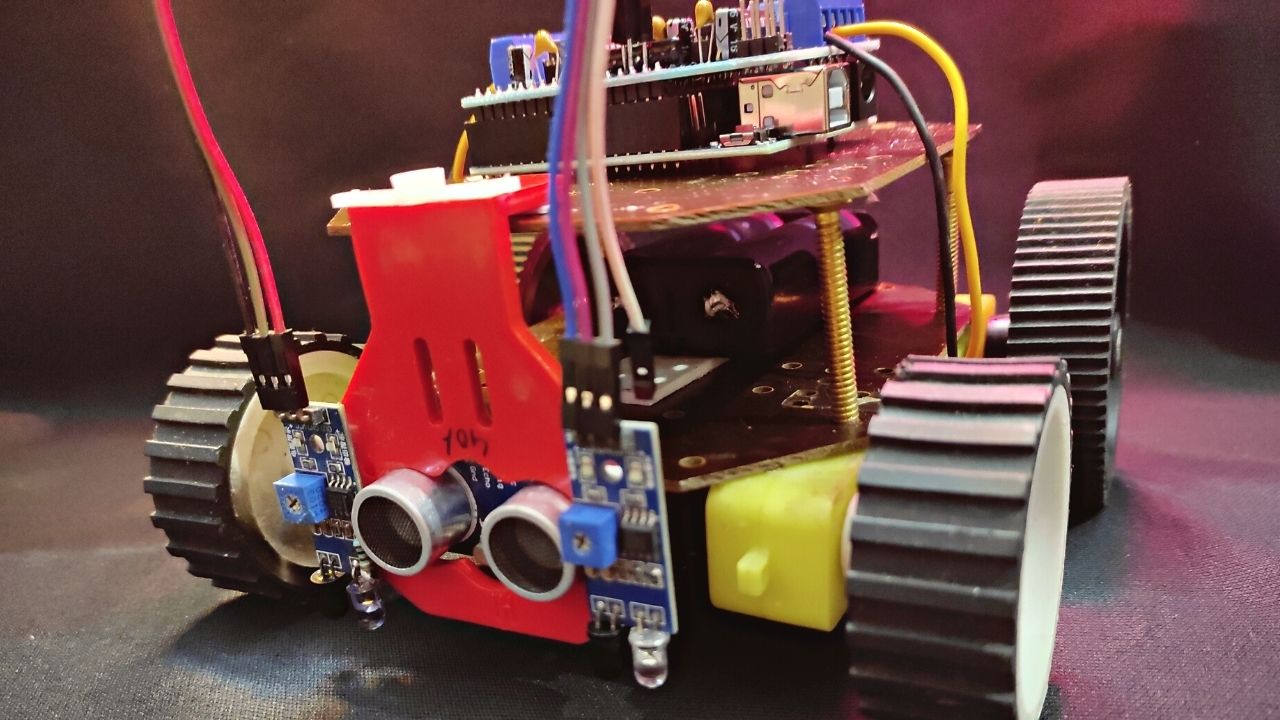
About Parts of the Obstacle Avoidance Robot


Setup Robot Chassis for Obstacle Avoidance Robot
Let’s create the robot car chassis first. For that, see the below pictures for detail.

After that, install the DC motors as shown in the pictures below. You can arrange them as you like.

Next, attach the wheels with the DC motors. For that, I used robot wheels.

Now, mount the L298N motor driver module on the robot chassis and connect all four DC motors to the motor driver.

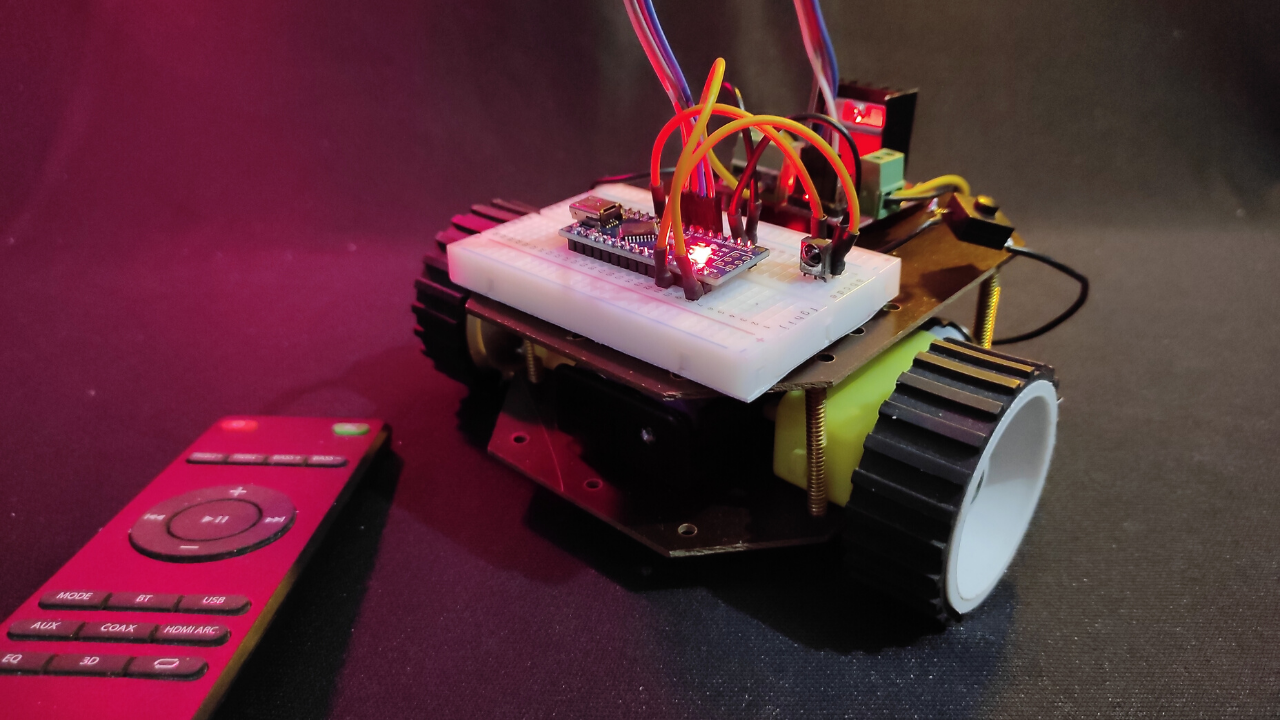
Next, place the Raspberry Pi Pico on the breadboard.

After that, attach the servo motor to the front of the chassis using hot glue or a screw. And then, install the ultrasonic sensor on top of the servo motor.
Install a lithium-ion battery on the battery holder and breadboard at the top of the robot car chassis.
Finally, connect the servo motor, ultrasonic sensor, motor driver module, and lithium-ion battery holder to the Raspberry Pi Pico.
Connect the Raspberry Pi Pico to the computer and upload the Python script to the board.
How to Prepare Thonny for Uploading Code to Raspberry Pi Pico Board
First, you have to install Thonny Python IDE on your PC. After installing it, hold and press the “BOOTSEL” button on your Raspberry Pi Pico board and plug it into your PC. Release the button when your computer detects your Raspberry Pi board.
Now you can see an extra storage device appeared in your my computer section. Open it and click the “INDEX” file and you will redirect to the Raspberry Pi website. From there, you have to download the “MicroPython UF2 file“. After that simply drag and drop to that extra storage and return to the Thonny software.

Now you need to click on Tools > Options > Interpreter > select microPython (Raspberry Pi Pico) > select the correct port and hit OK.
Now copy and paste the below code to the Thonny IDE, and hit the green-coloured run button. Then you have to save the code as “main.py” (please save it as it is, otherwise the board will not work after USB is removed from the PC) on the Raspberry Pi. If you select My Computer then it will not work after you remove the board from the PC.
Raspberry Pi Pico Code
#Include the library files
from machine import Pin,PWM
import time
servo = PWM(Pin(0))  #Include the servo motor pin
servo.freq(50)  #Set the frequency
Trig = Pin(2,Pin.OUT)  #Include the Trig pin
Echo = Pin(3,Pin.IN)  #Include the Echo pin
#Motor driver pins
ENA = PWM(Pin(4))
IN1 = Pin(5,Pin.OUT)
IN2 = Pin(6,Pin.OUT)
IN3 = Pin(7,Pin.OUT)
IN4 = Pin(8,Pin.OUT)
ENB = PWM(Pin(9))
ENA.freq(1000)
ENB.freq(1000)
speed = 30000  #Speed of this robot
def forward():
    ENA.duty_u16(speed)
    IN1.value(0)
    IN2.value(1)
    ENB.duty_u16(speed)
    IN3.value(1)
    IN4.value(0)

def backward():
    ENA.duty_u16(speed)
    IN1.value(1)
    IN2.value(0)
    ENB.duty_u16(speed)
    IN3.value(0)
    IN4.value(1)

def left():
    ENA.duty_u16(speed)
    IN1.value(1)
    IN2.value(0)
    ENB.duty_u16(speed)
    IN3.value(1)
    IN4.value(0)

def right():
    ENA.duty_u16(speed)
    IN1.value(0)
    IN2.value(1)
    ENB.duty_u16(speed)
    IN3.value(0)
    IN4.value(1)
def stop():
    ENA.duty_u16(0)
    IN1.value(0)
    IN2.value(0)
    ENB.duty_u16(0)
    IN3.value(0)
    IN4.value(0)

#Get the distance
def distance():
    Trig.value(0)
    time.sleep_us(4)
    Trig.value(1)
    time.sleep_us(10)
    Trig.value(0)

    while Echo.value() == 0:
       low = time.ticks_us()

    while Echo.value() == 1:
       high = time.ticks_us()

    t = high - low
    cm = t/29/2    #Time convert to the cm
#     time.sleep(0.1)
    return cm
def servoLeft():
    servo.duty_u16(7000)  #1500-8500

def servoRight():
    servo.duty_u16(3000)  #1500-8500

def servoStart():
    servo.duty_u16(5400)  #1500-8500
while True:
    dis = distance()
    if(dis<10):
        stop()
        time.sleep(1)
        servoLeft()
        time.sleep(1)
        leftDis = distance()
        time.sleep(0.5)
        print(leftDis)
        servoStart()
        time.sleep(1)
        servoRight()
        time.sleep(1)
        rightDis = distance()
        time.sleep(0.5)
        print(rightDis)
        servoStart()
        time.sleep(1)
        if(leftDis > rightDis):
            print("Turn Left")
            left()
            time.sleep(0.5)
            stop()
            time.sleep(1)
        elif(leftDis < rightDis):
            print("Turn Right")
            right()
            time.sleep(0.5)
            stop()
            time.sleep(1)
    else:
        leftDis = 0
        rightDis = 0
        forward()


This is a fantastic entry-level robotics project. Using the Pico is a great choice because of its affordability and power. Thanks for making the wiring process so clear with those diagrams!
Cool project