In this tutorial, I will show you a simple and modest DC-to-DC boost converter circuit with 555 Timer IC. A boost converter is a DC-to-DC power converter that increases the voltage to a fixed certain level by getting a certain amount of specified input voltage. It is a class of exchanged mode power supply containing at any rate two semiconductors (a diode and a transistor) and at any rate one energy storage component i.e., a capacitor, inductor, or both in the same combination. To decrease voltage ripple, filters are ordinarily added to such a converter’s output and the input terminal.
Must Read 12V Automatic Battery Charger With Auto Cut Off
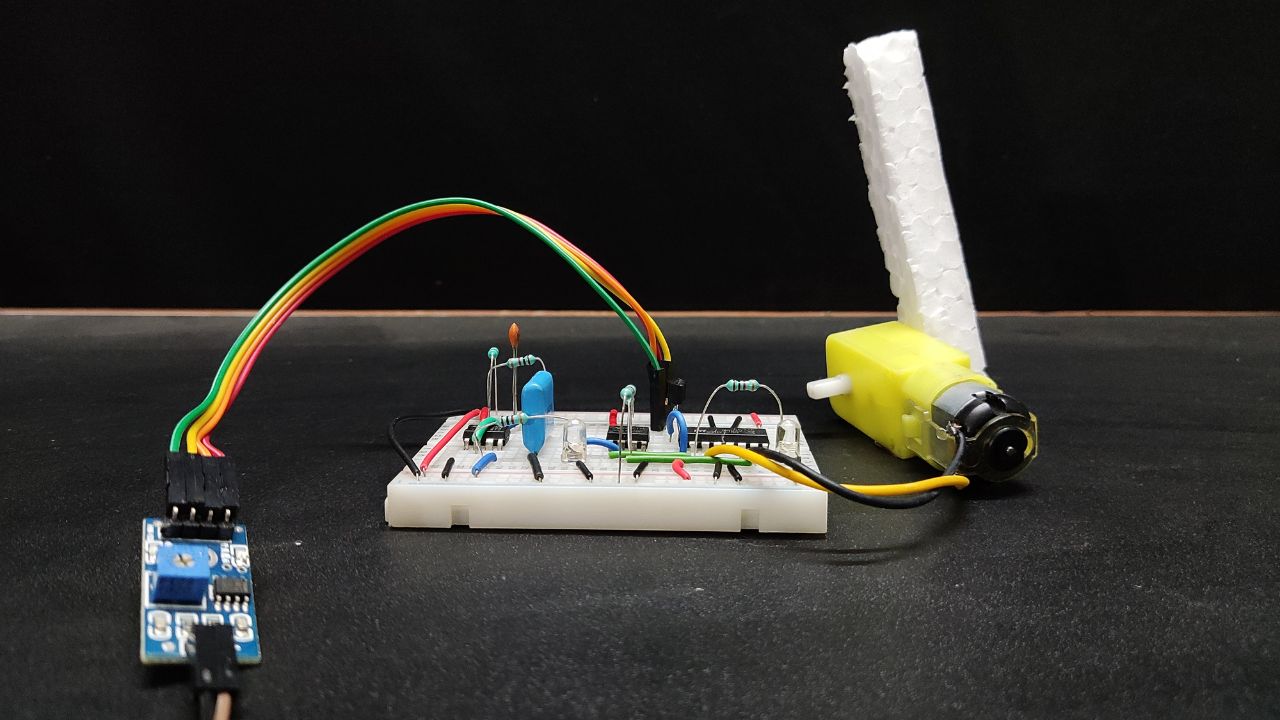
Circuit Diagram

Components Required
- NE555 Timer IC
- LM317 Regulator IC
- BD139 NPN Transistor
- 10 KΩ Potentiometer (x2)
- 100uH/2A Inductor
- 1N5819 Zener Diode
- 39V/1W Zener Diode
- 1N4007 PN Diode
- Ceramic Capacitor (10nF, 560pF)
- Electrolytic Capacitor (1uF/25v, 10uF/35V, 100uF/35V)
- Resistor (1KΩ, 220Ω)
- Wires
- Breadboard
- DC Power Supply
Circuit Connection of DC to DC Boost Converter
At first, a 555 timer IC is taken. Then pin 4 and pin 8 are connected directly to the Vcc and pin 1 is directly connected to the ground. Pin 5 is also connected to the ground through a 10nF capacitor.
Pin 2 and pin 6 are connected with each other. Pin 2 is also connected to the ground through a 560pF ceramic capacitor.
A 10KΩ potentiometer is connected between pin 6 and pin 8 and its middle terminal is connected with pin 7 of the IC.
The IC’s output, pin 3 is connected to the base of the NPN transistor BD139 through a 1KΩ resistor. Its emitter terminal is directly connected to the ground and the collector terminal is connected to Vcc through a 100uH inductor.
A 1N5819 Zener is connected in forward bias between the collector terminal of BD139 and the inductor to the input terminal of the LM317 regulator IC.
A 10KΩ potentiometer is connected to the adjustment terminal of the LM317 regulator and its other side is connected to the ground. The middle terminal is connected to the ground.
Finally, a 220Ω resistor and a 10uF/35V capacitor in series and a 100uF/35V capacitor in parallel to the output terminal of the LM317 regulator.
Working Principle of DC to DC Boost Converter
This boost converter project portrays a DC-to-DC flexible advanced step-up power converter circuit. The output of the boost converter circuit can be balanced from 1.2V to 37V DC, the output current of the circuit is 100mA to 300mA relies upon the input power voltage, as with 6V input voltage the maximum output ampere will be around 100mA and with 9V it will be around 150mA to 200mA and with 12V it will be around 250mA to 300mA. While working with 12V the transistor BD139 will disseminate heat, therefore it required a reasonable heatsink. The output voltage of the circuit can be chosen with the 5 KΩ variable resistor.
The boost converter circuit is isolated into two sections, the initial segment is a DC-to-DC step-up converter circuit worked around a 555 timer IC which supports the input voltage to around 50V. The second segment of the boost converter circuit is a regulator worked with the LM317 adjustable voltage controller IC. The 39V Zener diode is utilized to step down the voltage originating from the booster converter circuit to change over it under the maximum input voltage breaking point of the LM317 IC which is 40V DC.