
Are you looking to make your own DIY Sound Sensor Module for hobby electronics? Well, you are in the right place. Today we will learn how to make it and its working principle in detail.
A sound sensor module is a cheap sensor that is able to detect sound waves travelling through the air medium. It can measure the intensity of the sound and convert it to an electrical Analog signal. So we can read it through a sensing circuit specifically using a microcontroller. In this project, you will learn how to make this sound sensor module using LM393 op-amp and later we will simply interface it with Arduino in another article.
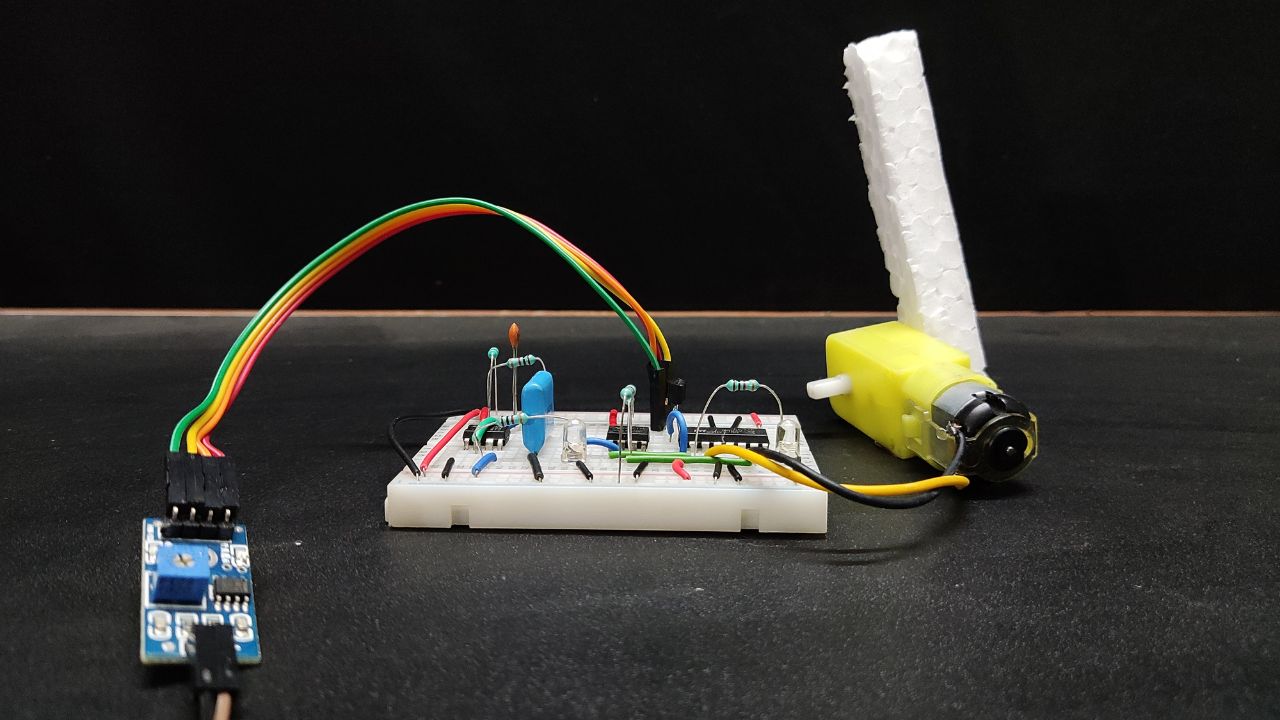
A proper good sensor is very useful for dynamic control in home automations. As an example, if you just clap or anyone knocks on the door, the lights of the room turn on or off depending on the previous input state. In this project, we are going to build such type of sound sensor switch with LM393 IC.
Project

Circuit Diagram

Components Required
- LM393 Dual-Voltage Comparator
- Condenser Mic
- BC547 NPN Transistor
- 10KΩ Potentiometer
- 1KΩ Resistor (x3)
- 10KΩ Resistor (x2)
- 51KΩ Resistor
- 510KΩ resistor
- 100nF Capacitor (x3)
- +5V DC Power Supply
- LED
- Connection Wires
- Veroboard
What is an LM393 IC?
The LM393 is a dual-independent accuracy voltage comparator IC. It can be run as well as using a single power supply or dual power supply. The maximum limit for a single power supply is 2V to 36V and for a dual power supply, it is about 1V to 18V. LM393 comprises two independent voltage comparators.
Sound Sensor Pinout
| Pin Name | Description |
|---|---|
| VCC | This is the positive power supply pin. |
| GND | Directly connected to the ground. |
| Out | Digital Output. |
There are many types of sound sensor modules present in the market using different ICs like LM324, LM393, LM344 etc. We are using LM393 for this project. So we explain the circuit diagram of LM393. There is a total of 8 pins. Most of the LM393-based sensors have only a digital out pin. When the sensor detects high or low on a certain level, the output of the sensor will be low or high.
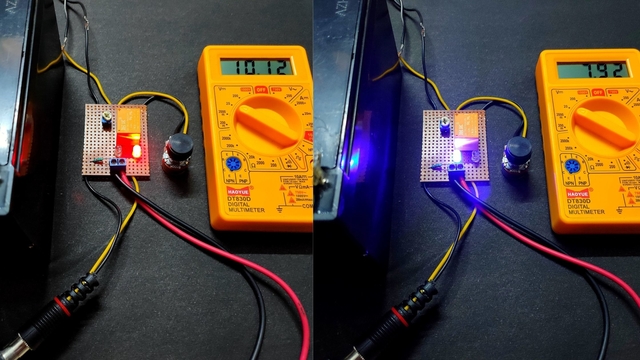
This module can work between 3.3V to 5V power supply on the VCC pin. The low output indicates by the ‘Out’ pin means the sensor detects no sound and high output means the sensor detects sound. The D0 pin gives us digital reading directly from the sound sensor.
Specification
- The maximum range of operating voltage is 3.6V.
- Maximum operating current is 4mA to 5mA approximately.
- The voltage gain is 26dB (V=6V, f=1kHz).
- The sensitivity of the microphone (for 1kHz) is 52dB to 48 dB.
- The impedance of the microphone is 2.2KΩ.
- The frequency of the microphone is 16kHz to 20kHz.
- Signal to noise ratio is 54dB.
How Does the Sound Sensor Module Work?
The working principle of the sound sensor module is very simple like human ears. The main part of this module is a condenser microphone. The microphone gives out an Analog signal and the op-amp processed it. Now we get a digital signal from the op-amp.
There are many types of microphones, like carbon mics, fibre mics, laser mics, etc. In this module, we use a condenser microphone. A condenser microphone consists of two charged metal plates. The first one is called the diaphragm, the sound waves hit this part. The second one is the back plate of the microphone. This structure forms a capacitor. When a sound wave hits the diaphragm it vibrates and the distance between the two plates changes. This process produces an electrical signal and this signal is processed by the LM393 op-amp.
Features of Sound Sensor Module
- These sensors are very simple to use.
- It gives Analog and Digital output signals.
- Can contain any type of Analog signal in its input area.
Applications of Sound Sensor Module
- Security system for office or home
- Spy circuit
- Home automation
- Robotics application
- Ambient sound recognition
- Audio amplifier
- Sound level recognition


This article was full of subtle but powerful takeaways. Thank you for putting so much thought into your work.